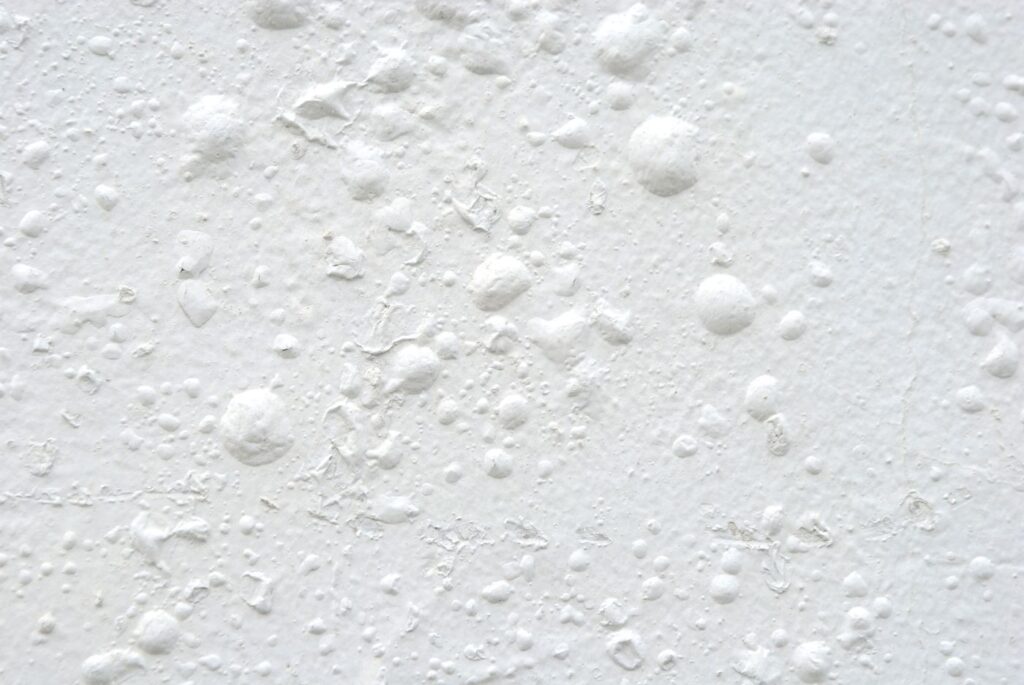
Bubbles. Once a word correlated with happy summer memories, now attached with the frustrations of painting. The occurrence of a bubble, also called a blister, is an annoyance that can take any paint job from a weekend DIY project to a much more labor-intensive endeavor. It is time to say goodbye to paint bubbles and get ready for great painting projects. We have broken down what causes bubbles to happen, how to fix them, and how to prevent them in the future.
How do paint bubbles form, and why do they happen? A bubble forms when the paint stops sticking to its base, whether it be a base coat of paint or a building material like wood or drywall. The paint pulling away allows air to get in and form a bubble.
As for why they happen, there are many answers. One easy fix can come down to paying attention to the weather.
Bad weather is the culprit behind a vast majority of paint bubble occurrences happening outdoors. It is best to avoid painting within hours of a storm, as the rain and moisture present in the air during this time can do a fair amount of damage. Painting before a storm can allow moisture to penetrate the paint’s surface before it has completely cured. Attempting to paint after a storm can cause moisture to get trapped underneath the new layers. Either way, avoid bubbles by doing a rain check.
Bubbles can also be caused by failing to properly prep your surface correctly. Any type of dirt, grease, or moisture can be the perfect formula for paint separation. A dirty surface means the paint can’t adhere properly and will pull away from the base. On top of that, a lack of primer can also be a culprit. Without the primer, the base layer of paint can get absorbed into the surface and cause additional layers not to stick. It is best practice to ensure that the designated area has been cleaned, dried, and primed before application occurs.
Once paint bubbles have formed, what’s next? How are they fixed? In all honesty, the best thing to do is to scrape off the affected area and start over. Make sure the surface is smooth to a point where you cannot feel a difference between the painted and bare surfaces. Double-check that any pits are filled, and you are ready to prime and paint just as you had before. As long as you have correctly prepped the area, you should end up with a smooth, bubble-free surface! If you are looking to avoid any additional painting, you might be able to iron out the bubble. If you go this route, we recommend using online resources to learn how to perform this method properly and safely.
The main takeaway is that preparation is essential to avoid bubbling. Always check the weather before starting an outdoor project, and always clean any surfaces you are about to paint. Now that you are ready to avoid bubbles, it is time to start planning your next home project. Our guide to picking an exterior paint color is a great place to start.
Don’t let stray paint ruin a project. Protect your surroundings with Steelcoat High-Density Painter’s Plastic, which uses Grip-N-Guard technology to cling to any surface. You’ll be able to paint worry-free.